 While attending Colorado culinary school, you have learned how to make delicious foods. Another important part of being a chef is knowing how to make those foods look beautiful on a plate. These days it’s useful to know how to take a photo of the food so that it looks mouthwatering and makes the viewer want to eat it. Whether you are creating a menu, working on a portfolio or posting to Instagram?, you can use these tips for taking beautiful food photography shots:
Use good lighting
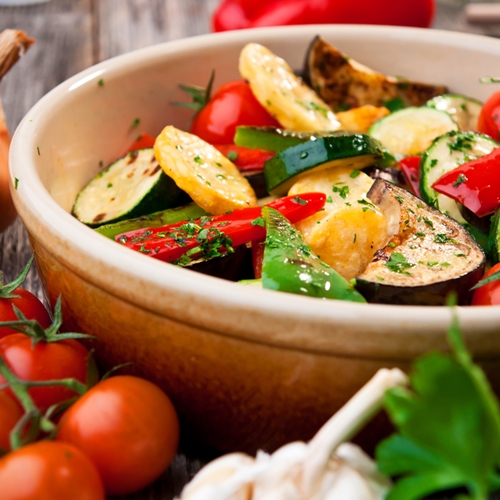
You know those shots that pop up when you’re browsing a friend’s Instagram that show a darkly lit plate of food? It doesn’t look very appetizing and you’re not exactly sure what the food is because the lighting is so dim. Don’t let your pictures turn out like that. Instead, use natural daylight whenever possible, or choose an overhead lamp for the most evenly distributed light. This will make your food appear bright and the colors vivid. Plus, your dish will look much tastier when the viewer can see the individual sugar crystals on the pie crust or seeds on the berries. The details are what makes the meal look fresh and the viewer want to take a bite.
Consider color choices
Contrasting colors can really make your food item stand out. If you are showcasing a beautiful loaf of bread that is brown in color, you may want to place it on a white dish on a dark wood or marble table or countertop. These contrasting colors will bring attention to the bread and please the eye. You can also use fun, bright colors to liven up the photo by adding colorful garnishes, adding a textured napkin or angling the shot to include a bit of nearby wallpaper. Experiment with several shots to see which one you like the best.
Frame the subjects
Just as if you were hanging a picture in a gallery, it is important to frame your subject. That means placing it on the plate in perfect proportion to the edge of the table or napkin and paying attention to the angling of the food item and anything else that can be seen in the photograph. A common rule in photography is to use thirds. Things look better in threes. One example of this is to include a plate with the food item, and one piece of silverware on ether side to make use of the appealing rule of threes. Another option is to place the food in a bowl on top of a plate. Add a napkin at one side and you’ve used the rule of threes.
Work quickly
Pie crusts sink, sauces puddle, butter melts – these are all things that happen over time. Don’t photograph the same food over and over for an hour. It will likely look different after even just a few moments. Fresh food looks the best and that freshness will be conveyed in the photograph if you take the picture soon after the dish was made and arranged. If you need a lot of time, have another example of the item ready to cook and use.