By: Helena Stallings, Culinary Arts Student
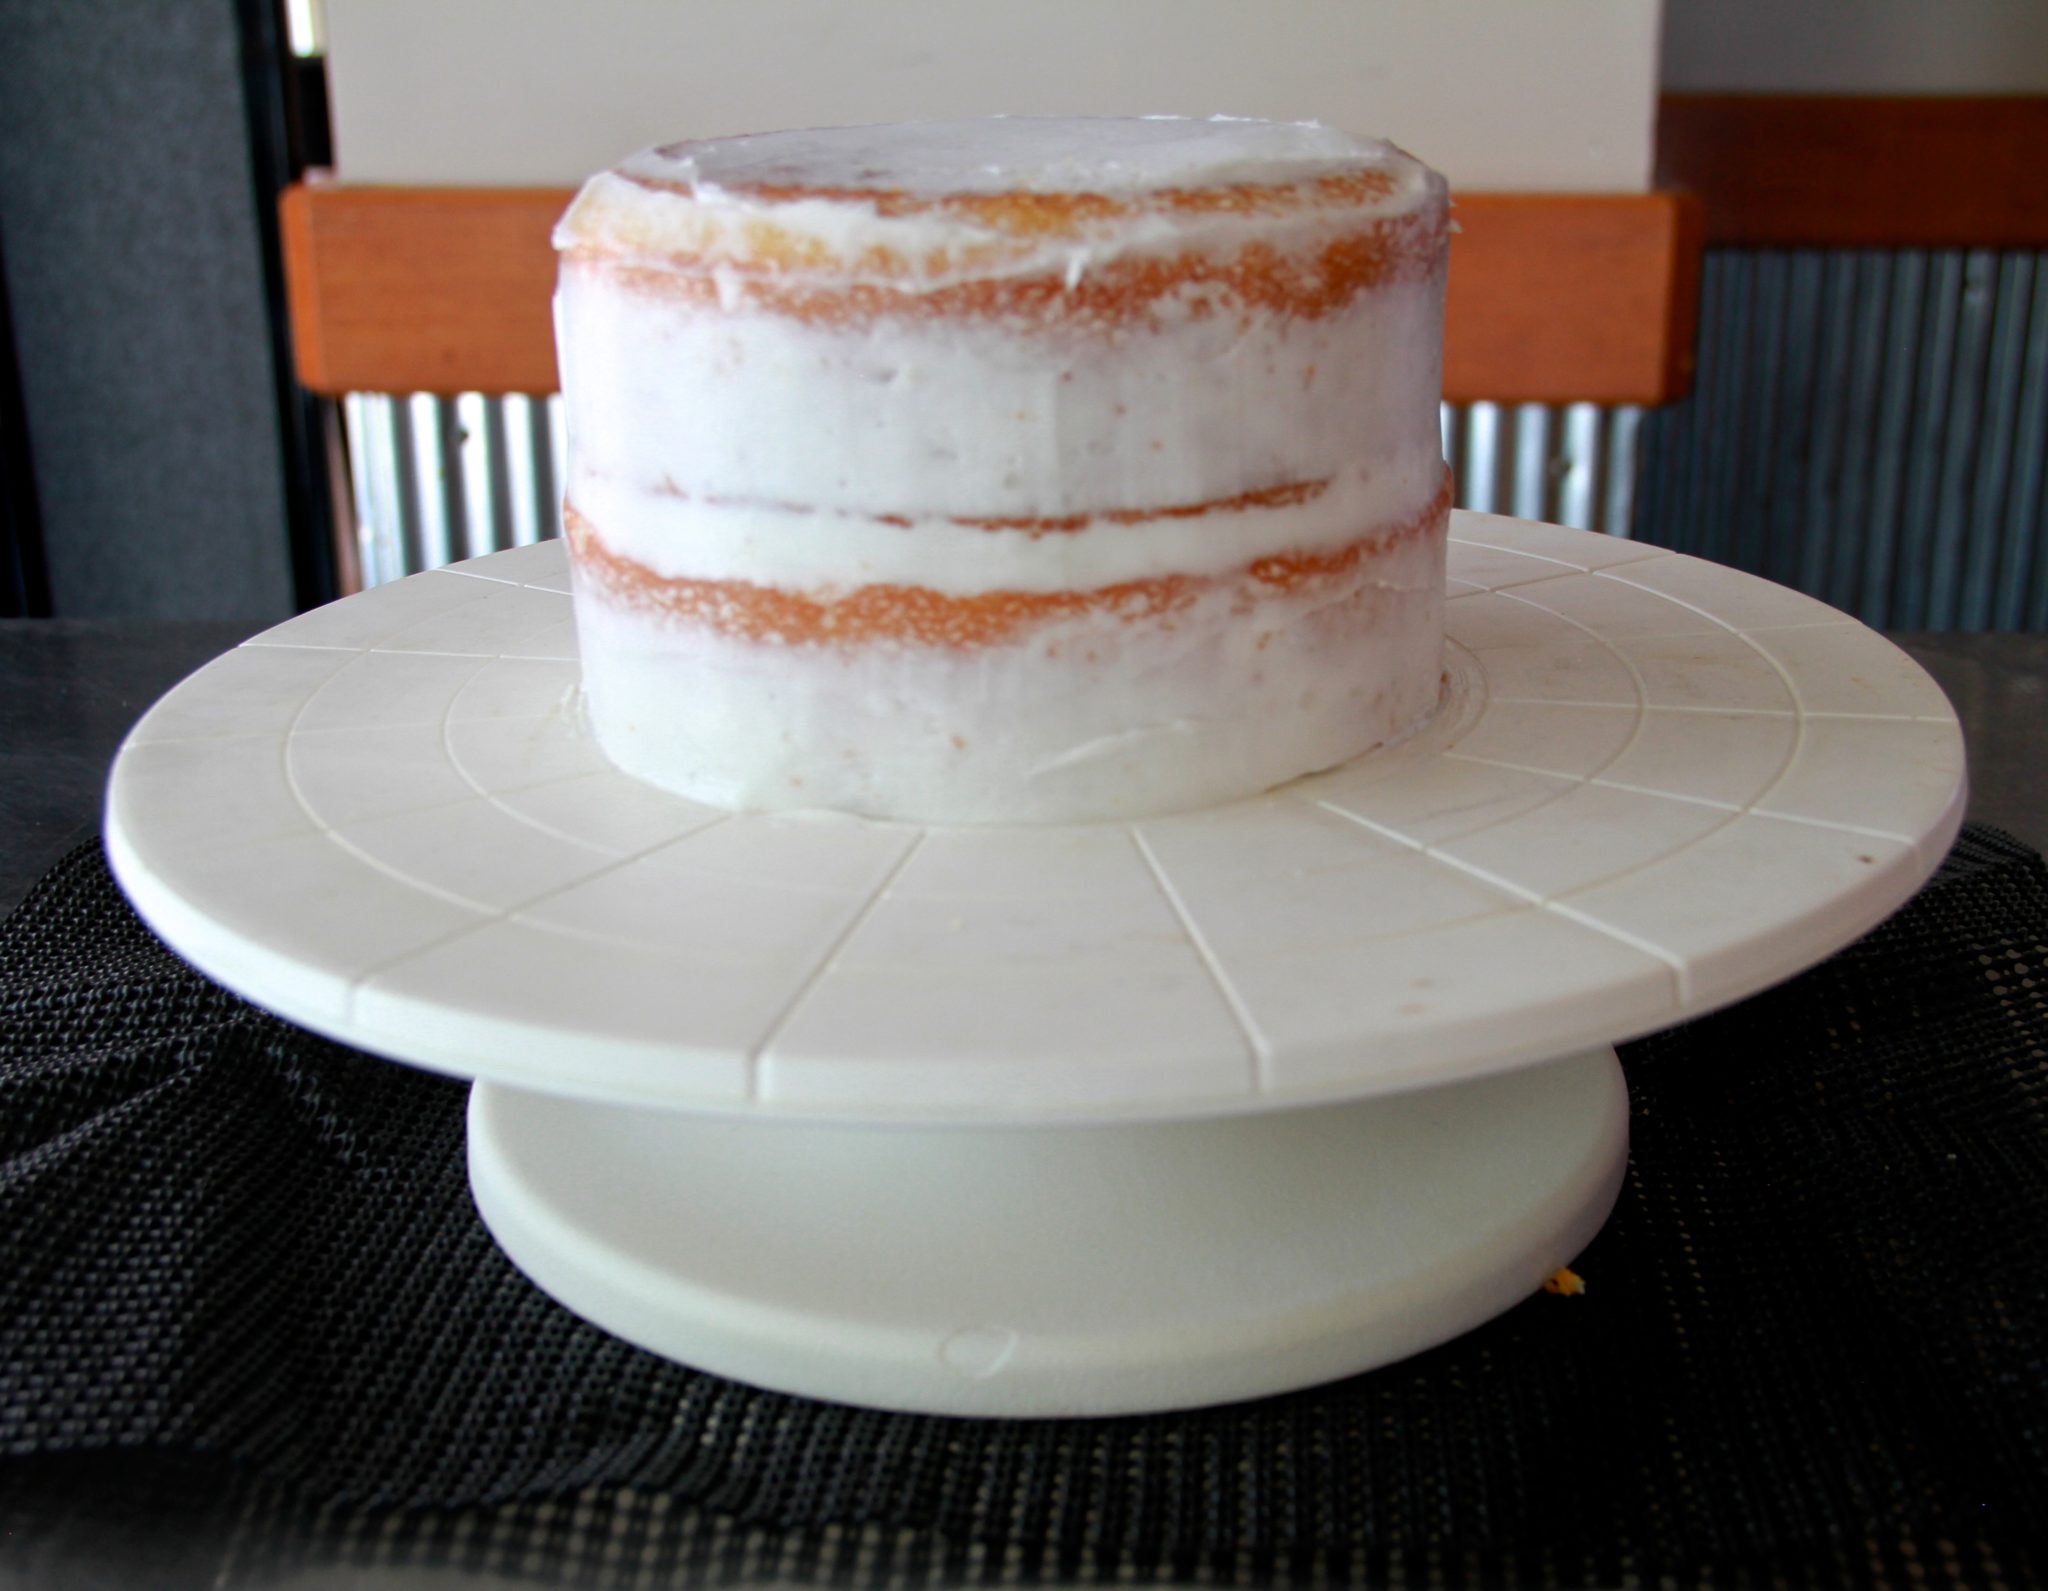
After your sponge cakes have been pulled from the oven and had time to cool on cooling racks, you are ready to crumb coat your cakes. The purpose of putting a crumb coat on your cake is to ensure that when you roll your fondant over the cake it is smooth and there aren’t crumbs stuck into it. The only equipment you will need is a cake stand, however it isn’t 100% necessary, a serrated knife and an offset spatula. If you would like to use a buttercream to crumb coat your cakes, please see the ‘How To Make A Swiss Buttercream’ video, or if you are crunched for time a store bought icing will work. Once you have everything you need, the first step is to level off
your cakes.
Place your cakes on a cutting board in front of you and with your knife level to the table, turn the cake into the blade without moving the knife. When you have turned the cake a few times, start to cut into the center of the cake, turn it 90 degrees and repeat until the top of your cake is level. Place a small amount of icing on the middle of your cake stand to hold your cake still, then put a large dollop of icing on the top of your first cake and with your offset spatula begin to work the icing to and down the edges of the cake. The goal isn’t to cover the cakes in a thick layer of icing, you want just enough to hold the crumbs in and a little extra in the middle for flavor. When you have a nice, thin and smooth layer on your first cake, place your second cake cut side down, on top of the first and repeat the steps for icing. Remember that you are covering the cake in fondant and so the crumb coat doesn’t have to be presentation perfect. If you are not covering your cake in fondant and are simply icing it, place the crumb coated cake in the refrigerator for a half an hour to set, then continue to put another layer or two of icing on your cake.