Is there a scent more pleasant than freshly baked bread wafting through the house? Though there are countless varieties of bread out there, when baking a simple loaf, there are a lot of rules. By using the wrong quantity of ingredients or handling the dough incorrectly, it can ruin the entire recipe. This makes the idea of baking bread intimidating for many people, even some seeking their online culinary certificate. While baking the perfect loaf of bread can certainly be intense, by following these few tips, you’ll be sure to become an expert in no time:
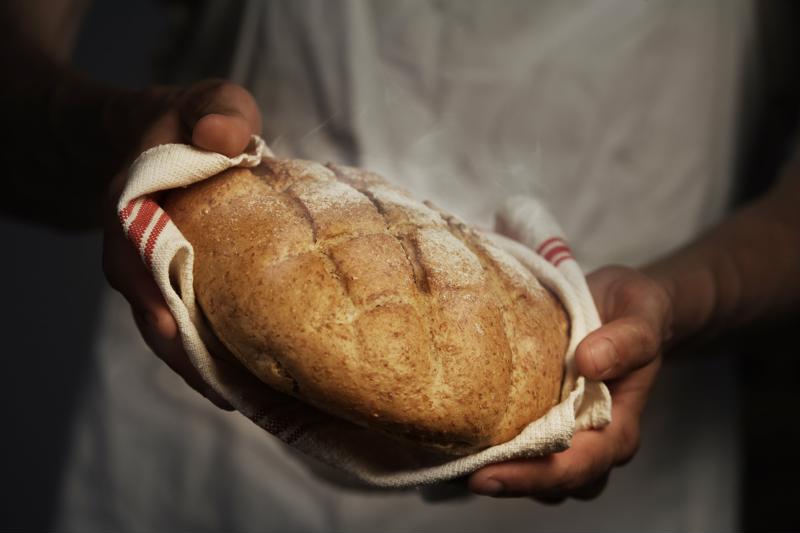 A good loaf of bread is like a work of art.
Don’t skip proofing
Proofing your yeast is essential to ensuring that it’s alive. It’s not particularly time consuming, but many people don’t consider it to be a crucial step and breeze right past it. If your yeast hasn’t expired yet, chances are it’s good to go, but it never hurts to be sure. When your yeast is alive, it eats sugar and emits carbon dioxide – which causes your bread to rise. To make sure your yeast is working effectively, follow these steps laid out by The Kitchn:
- Measure out the amount of yeast and water needed in your recipe. Make sure the water is lukewarm – between 75 and 80 degrees.
- Pour the yeast in the water, along with a dash of sugar. When the yeast is released, it’ll begin to eat the sugar and foamy bubbles will develop on the surface of the water. This means the yeast is active and will cause your bread to rise. If there are no bubbles or foam after about 10 minutes, you’ll need new yeast to make bread.
Some bread recipes, however, call for mixing all of the ingredients together and then adding water. If this is the case, simply use a small portion of water and yeast at the same ratio to test it, and toss it when you’ve seen that it’s alive.
Don’t use more flour than you need
Too much flour in a loaf of bread causes the bread to be dense instead of light and fluffy. Not only is it advisable to ensure you’re not using too much flour by using a kitchen scale as opposed to a measuring cup. With measuring cups, it’s too easy to over or underfill it with flour, due to the fact that it packs. Many recipes will also advise you to knead the dough on a floured surface, with floured hands. However, this could contribute to an over-floured loaf that turns out too dense. Instead, opt for a misting of olive oil on your hands and on the counter to keep the dough from being too sticky. If any dough sticks to your hands or to the counter, simply scrape it off and add it back to the dough ball.
Store it correctly
It’s no surprise that freshly baked bread stales much quicker than the bread you’d get from the grocery store that’s loaded with preservatives to keep it soft. In fact, you’ll probably notice your once fluffy bread getting hard within just a day or two of slicing. To ensure you get to enjoy your entire loaf, you’ll want to store it in the freezer after a day. By pre-slicing and wrapping it up before freezing it, you can get weeks out of your bread – if you don’t finish it quicker than that! According to Reluctant Gourmet, you can toast and even make sandwiches on frozen bread, and it’ll most likely be thawed by lunchtime.